Quick answer
Teach “leave it” as a choice to disengage before the dog takes an item. Begin with a low-value item protected in your closed hand. Wait silently for the dog to back away, mark that decision, and reward from your other hand. Add the verbal cue only when disengagement is predictable. Then progress to an open hand, a protected item on the floor, walking past the item, and controlled real-world distractions. Do not practice with anything toxic, sharp, or genuinely dangerous.
Know when to use “leave it” and when not to
“Leave it” uses the same marker, reward, and cue-transfer framework as Dog Training Basics, but it owns one specific moment: the dog has not taken the item yet.
If the object is already in the dog’s mouth, use drop it instead. Keeping these cues separate makes the criteria clearer: leave it means disengage and do not take; drop it means release what you already have.
Do not use training items that could injure the dog if they succeed in getting them. Start with safe, low-value objects under your control.
Set up the first session
Prepare two levels of reward. Put the less valuable item in the training setup and keep the better reward in your other hand or treat pouch. This prevents the “forbidden” item from becoming the payment for leaving it.
Work in a quiet room. Have enough space to protect the training item without grabbing at the dog. The first goal is not duration and it is not eye contact. You are marking the moment the dog voluntarily moves away or stops trying to get the item.
Teach “leave it” step by step
Step 1: Mark the first disengagement from a closed hand
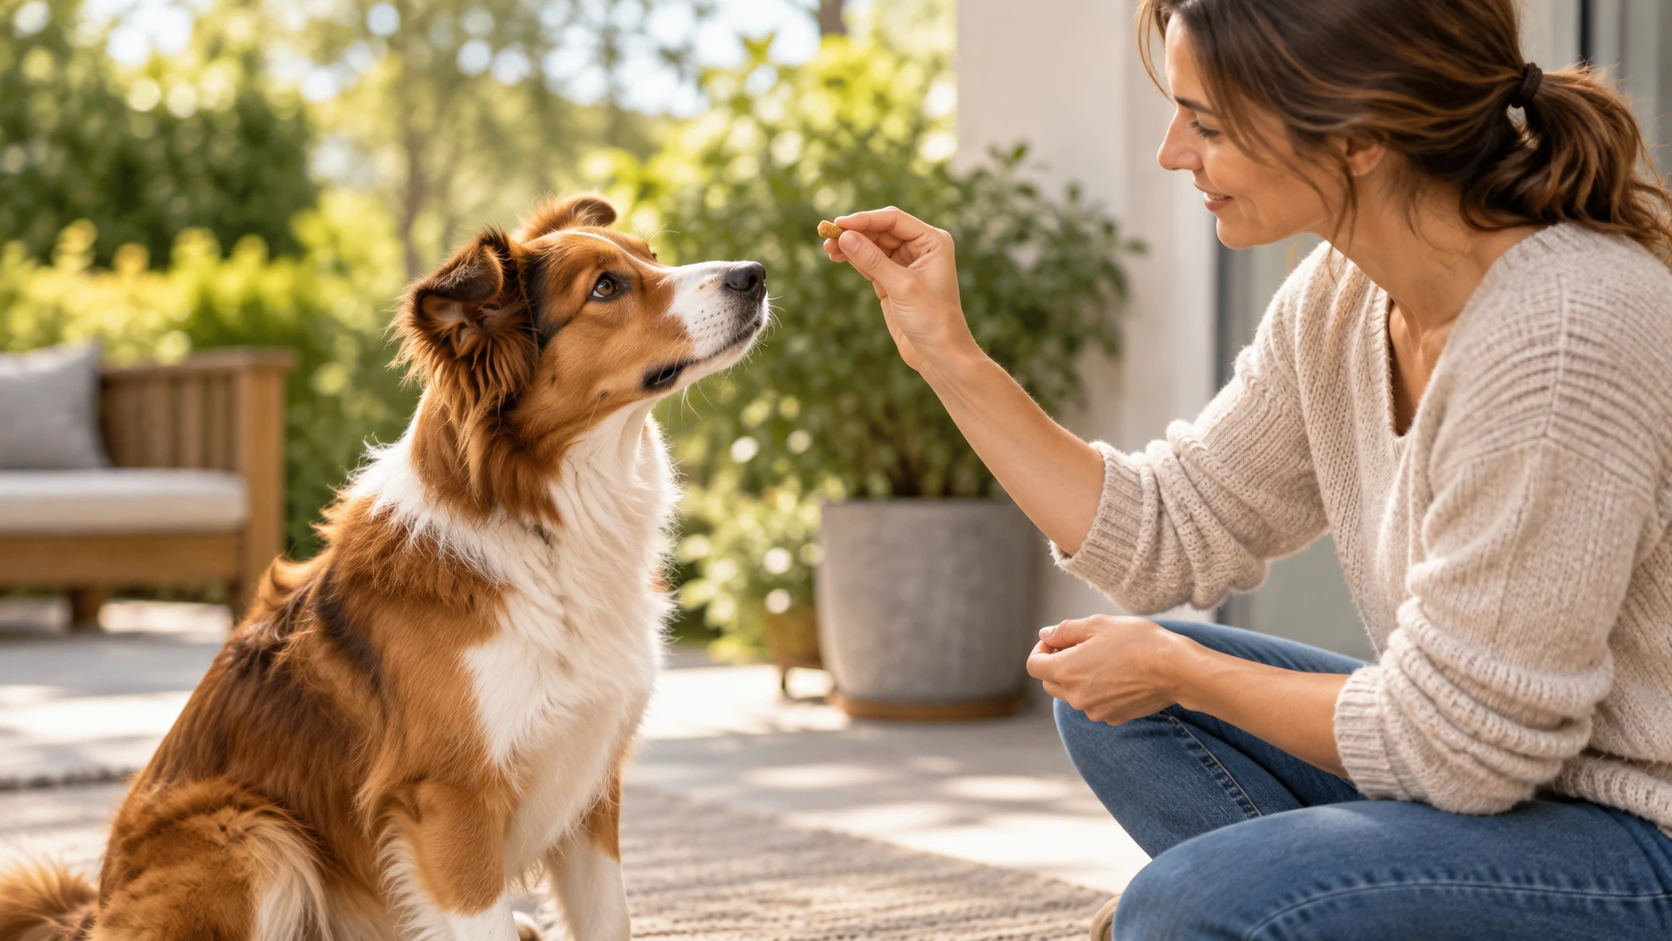
Place a low-value treat in your closed fist and present it at a comfortable height. Let the dog sniff or investigate. Do not repeat a cue yet.
The instant the dog moves their nose away, pauses the investigation, or backs off, mark and reward from the other hand. Close your fist again for the next repetition.
Step 2: Wait for a cleaner choice
Repeat until the dog begins to move away from the closed hand quickly. Now wait for a slightly clearer disengagement before marking: a head turn, a small step away, or a brief orientation toward you.
Do not require long eye contact. The behavior you need is leaving the target alone.
Step 3: Add the cue when the response is predictable
When you can reliably predict that the dog will disengage, say “leave it” once just before the moment they would normally move away. Mark and reward the response.
If the dog returns to pawing or licking the fist after the cue, the cue was added too early or the setup became too difficult. Go back to the previous stage rather than repeating the word.
Step 4: Open the hand but keep the item protected
Show the item on your open palm. Be ready to close your hand if the dog tries to take it. Cue once. When the dog leaves it, mark and reward from the other hand.
The dog should not learn that waiting long enough eventually earns the forbidden item. The reward comes from you, not from the item they were asked to leave.
Step 5: Move the item to the floor with a safety backup
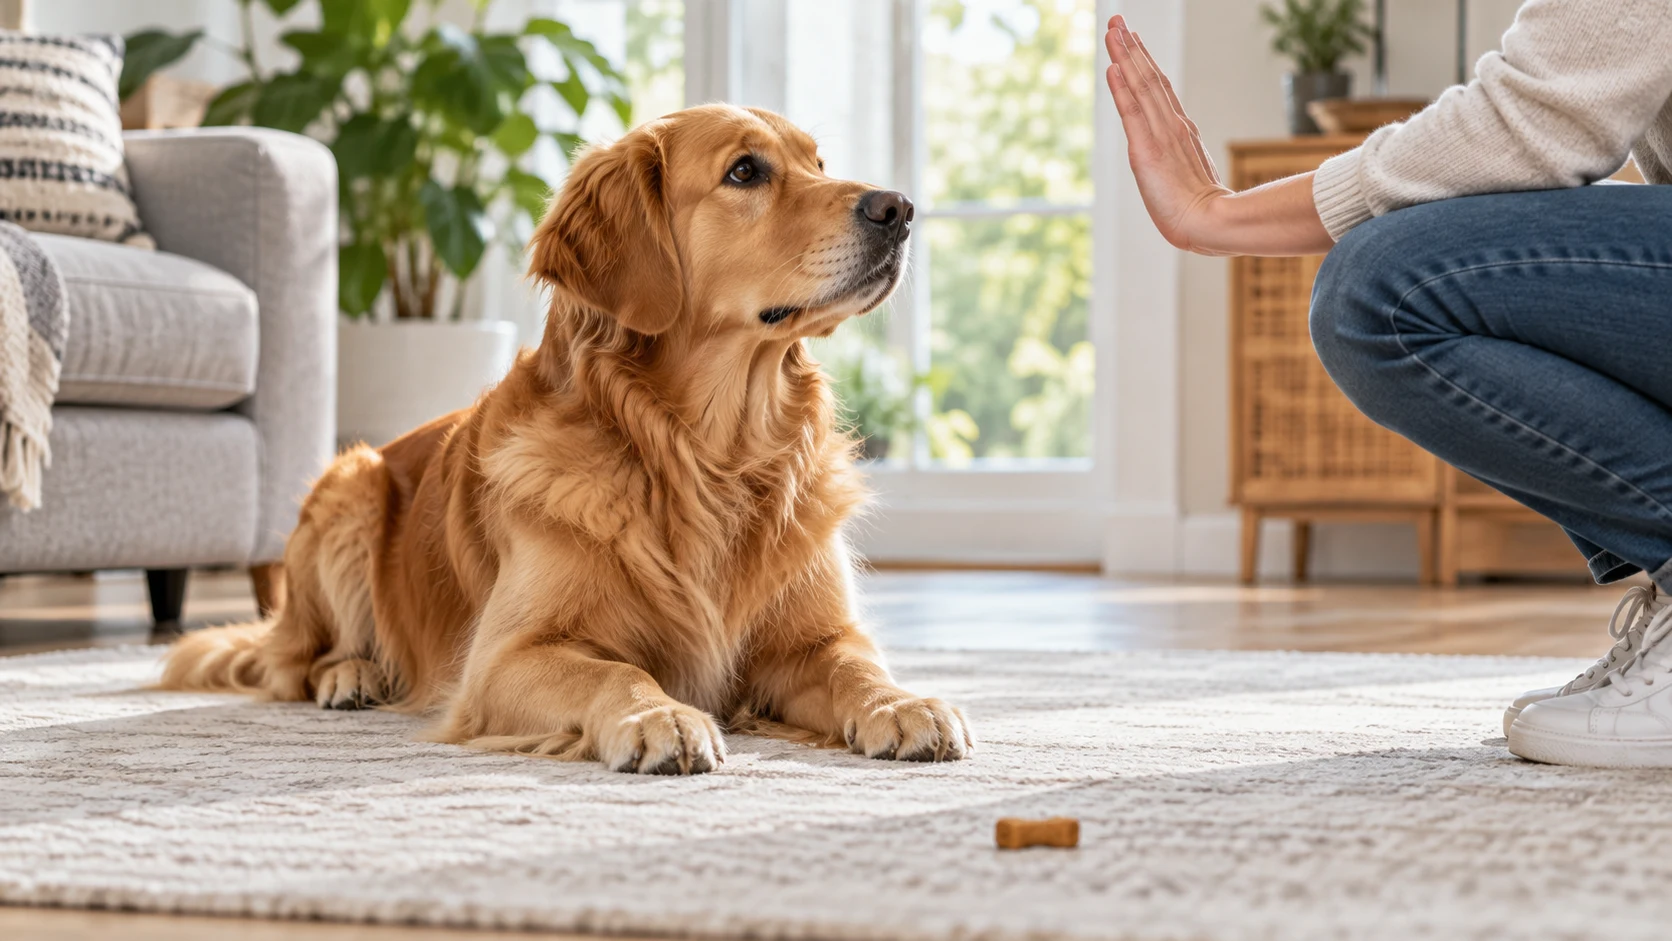
Place a low-value item on the floor and cover it with your hand or foot if needed. A leash can provide additional management without dragging the dog away. Start far enough back that the dog can succeed.
Cue once, mark disengagement, and reward from your hand. Reduce protection only as the dog becomes reliable at the current distance.
Step 6: Practice walking past controlled items
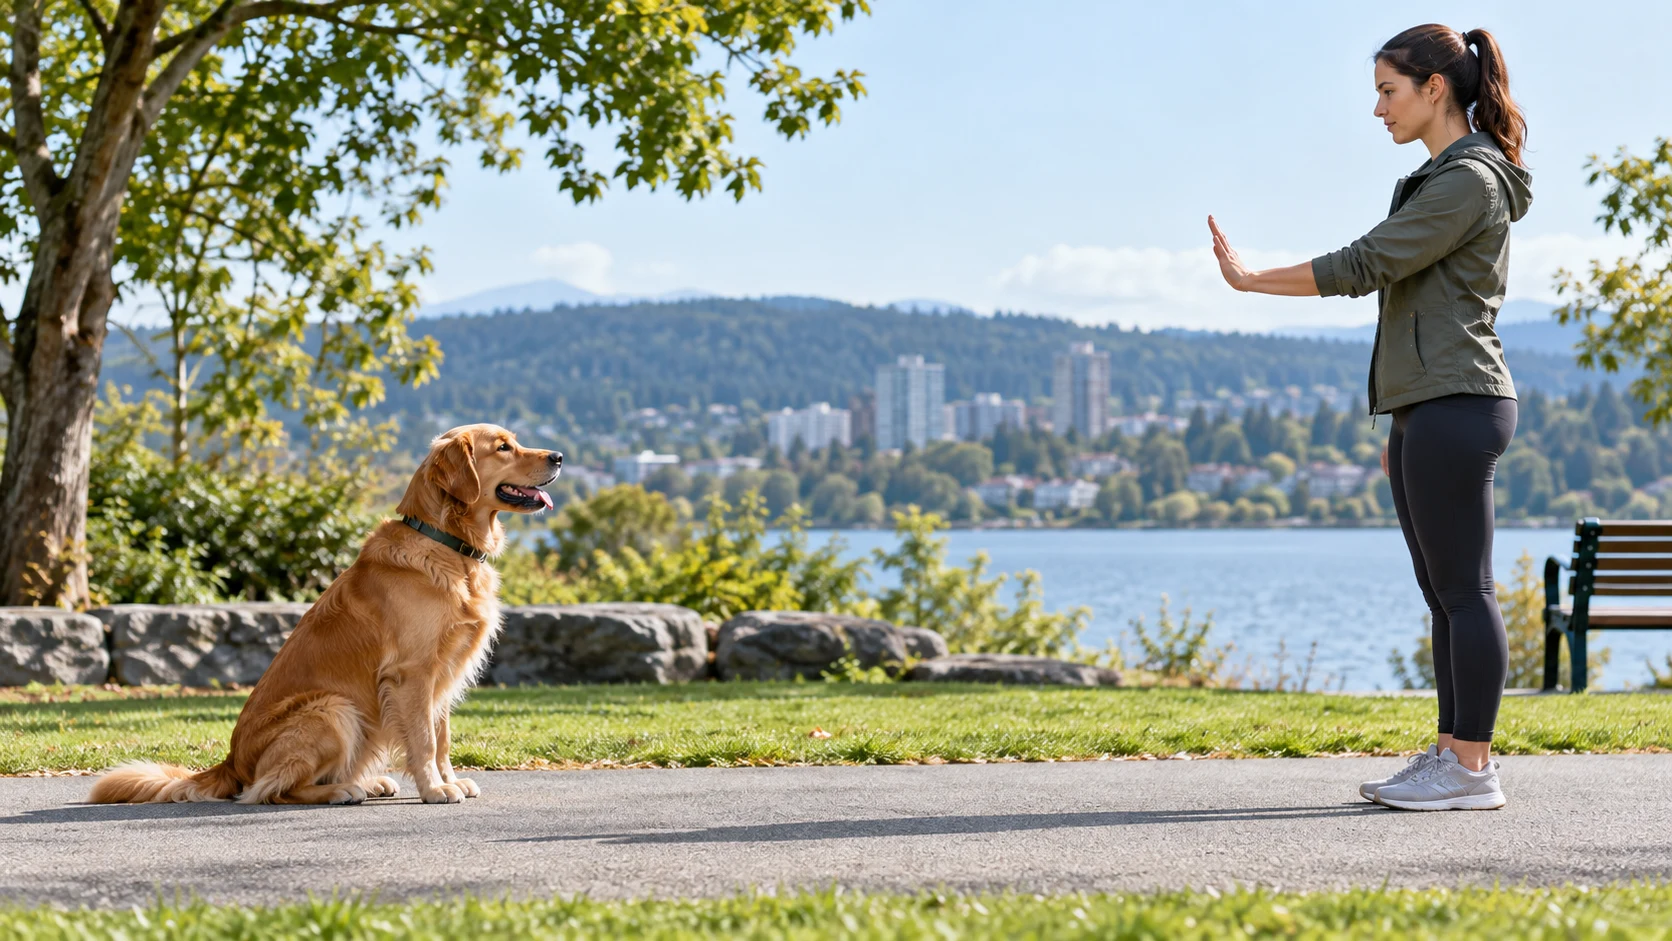
Place a safe training object off to one side of your path. Approach from enough distance that the dog can notice it without lunging to reach it. Cue “leave it,” mark the disengagement, reward, and continue walking.
Change one variable at a time: item value, distance, movement, location, or background distraction. Real-life reliability comes from gradual generalization, not from placing the dog next to the hardest temptation immediately.
Build a useful generalization ladder
Move from food in a hand to safe floor items, household objects, and controlled outdoor temptations. Use several examples within each category so the dog does not learn that “leave it” applies only to one training treat.
The cue is ready for a harder item when the dog can disengage promptly at the current level without needing the item blocked on every repetition. If the response slows, increase distance or reduce item value again.
Choose the right response for the situation
| Situation | Best response |
|---|
| The dog notices an item but has not taken it | Use trained leave-it |
| The item is already in the dog’s mouth | Use drop-it instead |
| The dog is repeatedly scavenging on a difficult route | Add preventive management |
| The item may be toxic, sharp, or otherwise dangerous | Prioritize immediate safety |
| The dog freezes, growls, guards, or threatens when approached | Seek qualified help |
This distinction keeps the training cue from being asked to solve situations that require management, emergency action, or behavior treatment.
Common mistakes
Saying the cue before the behavior exists. Teach disengagement first so the word has a clear action to predict.
Paying with the item that was supposed to be left. Reward from a separate source so “leave it” does not mean “wait and then take it.”
Repeating the cue while the dog remains fixated. Make the setup easier instead of weakening the cue through repetition.
Jumping from a closed fist to street litter. Outside temptations combine novelty, movement, scent, and competing reinforcement. Build those variables gradually.
Safety boundary
A trained “leave it” can reduce risk, but it is not a guarantee around hazards. Keep genuinely dangerous items out of reach when possible and use management in environments where the dog is likely to scavenge.
If you think the dog has swallowed something toxic, sharp, obstructive, or otherwise dangerous, contact a veterinarian or appropriate emergency service rather than waiting to see whether training solves the situation.