Quick answer
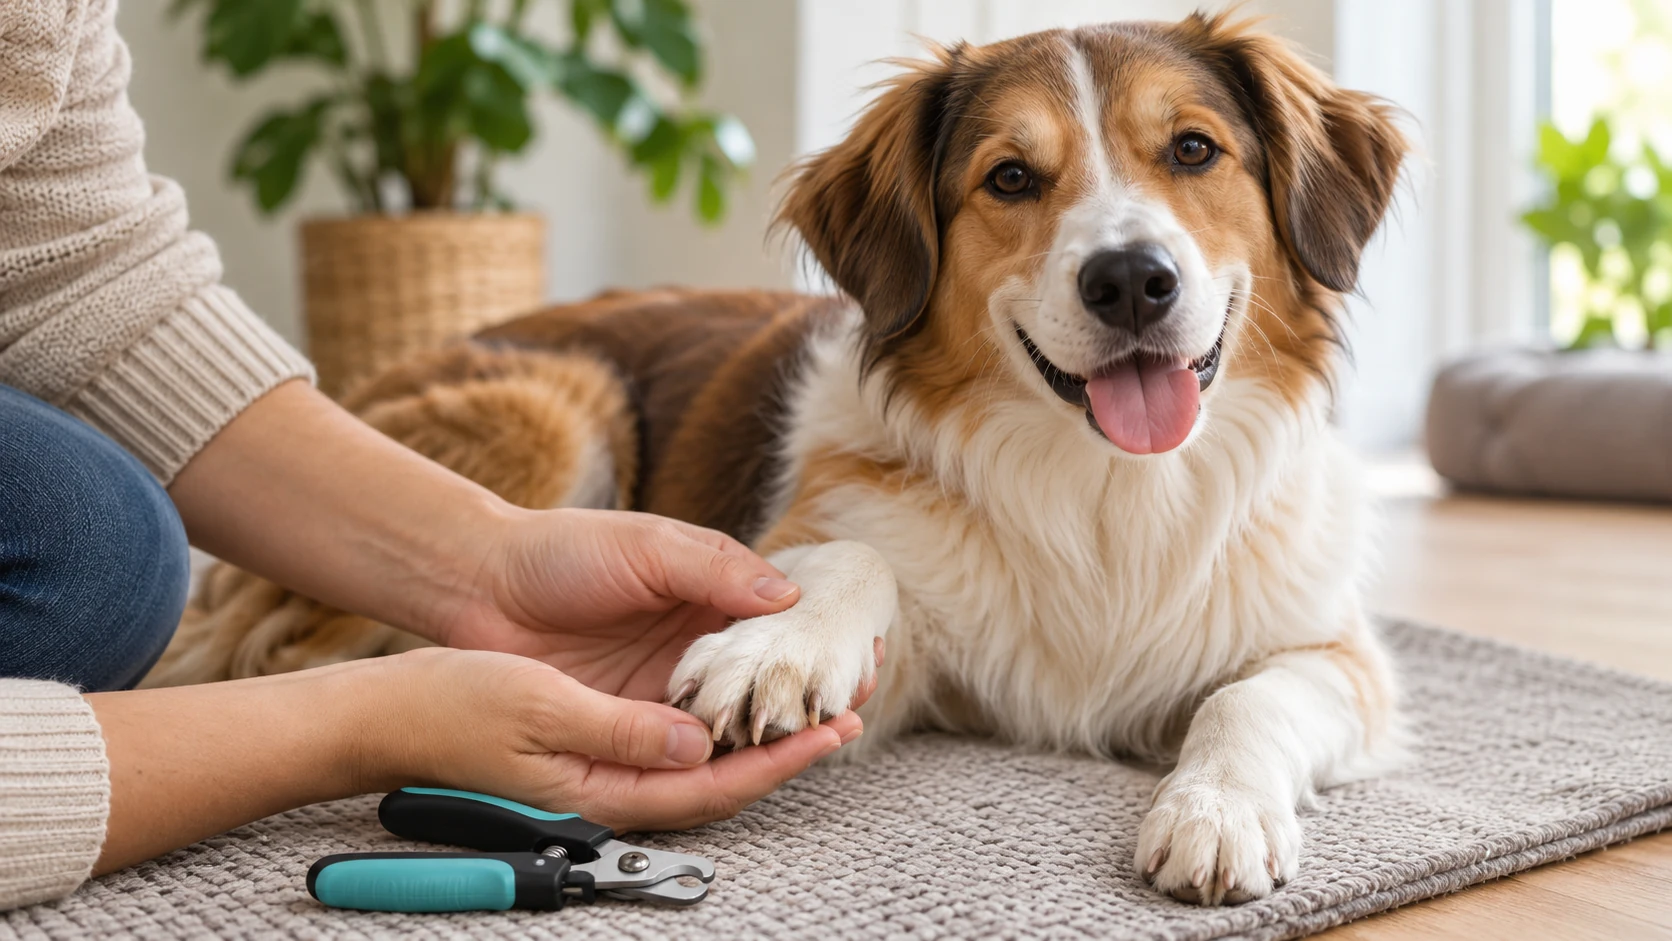
Trim a dog's nails when a claw has excess length, catches on things or starts to curl—not merely because a calendar says it is time. With sharp dog nail clippers, remove only a clearly visible free tip. On pale nails, leave space before the pink quick, which contains nerves and blood vessels. On black nails, take tiny slices and inspect the cut end after each one. Stop when the safe cutting line is unclear, the dog becomes distressed or the nail appears injured.
Do your dog's nails need cutting?
Check the shape of each claw while your dog stands comfortably. A pointed hook that snags fabric, a nail beginning to turn toward a paw pad, or a claw that changes how a toe rests on the ground deserves attention. A worn, flat-ended nail may not need shortening even if it lightly touches the floor.
Listen for clicking on hard surfaces, but do not use the sound as your only test. Some healthy claws make contact with the floor; other dogs wear their nails less because they walk mainly on grass or soft ground. Inspect front and back paws separately, including nails that appear shorter than their neighbors. Check the dewclaws higher on the inside of some legs: they usually do not wear down during walks.
A split nail, an embedded tip, swelling, limping or pain when a toe is touched changes the task from routine grooming to a veterinary concern. Do not attempt to correct these problems with a deeper home cut. For uninjured nails, repeat the length check as needed and trim only those with a safely identifiable excess tip; there is no fixed schedule that fits every dog.
Set up everything before handling a paw:
- Dog nail clippers with sharp, correctly sized blades, or a suitable pet nail grinder.
- Pet styptic powder and clean gauze in case you nick the quick.
- Small food rewards and a bright, quiet space with a nonslip mat.
- A clear view of the claw, with long fur moved away from the nail and any rotating grinder head.
Let the dog stand, sit or lie in a comfortable position. Support the leg rather than pulling it outward or twisting the paw. If the dog repeatedly withdraws from a gentle toe touch or from the inactive tool, practice handling first; gripping more tightly is not a substitute for cooperation.
Before the first cut, check three things: the nail has an unmistakable free tip, the paw can be held comfortably, and you can keep the chosen cut line in sight while the dog stays still voluntarily. If any of these is missing, postpone that nail.
How to trim your dog's nails safely
Step 1 — Examine one nail and position the clippers
Start with a straightforward nail that has an obvious projecting tip. Look along the sides and underneath for a crack, sore skin or debris. Hold the toe gently so you can see both the tip and the area closer to the paw. Each claw has a different shape and amount of sensitive tissue; do not use another nail as an exact cutting template.
Place the clipper blades around the tip you have decided to remove, away from the thicker nail near the toe. Check that only nail—not fur or skin—is inside the cutting area. Make one controlled cut while the dog is relaxed, then release the paw and inspect the result before deciding on another.
Step 2 — On pale nails, leave a margin before the quick
In many pale claws, the quick appears as a pink structure within the harder outer nail. Cutting into it can be painful and cause bleeding. Identify the pale free end beyond the visible quick. VCA's veterinary guidance describes leaving approximately 2–3 mm between the cut and the visible quick; if there is less safe nail available, remove less or do not cut.
For nails with enough free tip, VCA also describes taking approximately 1–2 mm per small cut, checking again each time. These are context-dependent cutting increments, not a minimum you must remove. Washington State University's veterinary teaching hospital describes trimming from beneath at approximately 45 degrees. Follow the claw's natural shape only if the safe tip is visible; never force the paw or move the cut nearer the quick to match an angle.
The useful result is a shorter free tip without approaching the pink tissue, not a uniformly short set of nails.
Step 3 — On black nails, cut a sliver and inspect the end
The quick is usually hidden inside a black or very dark claw. Begin with the narrow, clearly projecting end only. Where there is enough unmistakable free nail, remove a sliver of about 1–2 mm at most, then look squarely at the new cut surface in good light. Decide afresh whether another clearly safe sliver exists; do not keep the clipper in place and make successive blind cuts.
The exposed center may change from dry-looking nail material to a smoother or differently colored area as you approach sensitive tissue. Washington State University describes a gray-to-pink oval near the quick as a stop sign. Its appearance varies, and you may not see it before reaching a dangerous depth. Never continue cutting just to find a particular color, oval or texture. Stop at the first concerning change, when the obvious free tip has gone, or whenever the next cut would be a guess.
If a dark claw is already short, has no discernible projecting tip or is severely overgrown, do not try to reach a target length in one sitting. A long claw may have a quick extending farther toward its end. Have a veterinary professional or experienced groomer demonstrate a gradual approach on that individual nail.
Step 4 — Check dewclaws and finish with a comfort check
Look for dewclaws on the inner front legs and, where present, the hind legs. Part the fur and inspect whether each tip is free, hooked or approaching the skin. Their angle can be awkward: do not bend the claw or adjacent skin to create a cut line that is not naturally accessible.
Practical decision: if the walking nails have worn down but a dewclaw has a distinct free hook, assess that dewclaw alone rather than trimming every nail. If it touches the pad or no safe end is visible, leave it for veterinary assessment. This is a different decision from routinely shortening an exposed, healthy tip.
After any trim, check for bleeding, splitting, obvious tenderness and the dog's willingness to stand or walk normally. Reward calm cooperation. One nail trimmed without distress is a successful first session; finishing all paws is not a requirement.
Clippers or grinder: which is more suitable?
Clippers make a quick cut with little sustained noise. Choose them when you can clearly see the free tip and keep the nail steady. Sharp, properly sized blades should cut cleanly; stop if they squeeze, crush or split the claw. A large one-step cut cannot be reversed.
Grinders remove material gradually and can smooth a rough edge, but they make noise and vibrate. The rotating head can catch loose fur or touch skin, and holding it against a nail too long generates heat. Keep fur out of the way, touch the free tip for roughly one or two seconds, lift away, then check the nail and the dog's response before continuing. Introduce the sound before using it on a paw.
Neither tool makes an invisible quick safe to approach. Choose the option that gives you control and that your dog will comfortably accept. If neither is tolerated, work on handling before attempting another trim.
What if your dog pulls away or fears nail trimming?
Stop the cutting attempt when the dog freezes, repeatedly moves the paw away, tries to escape, growls or shows other signs of stress in dogs. Pain may also cause resistance; have a veterinarian assess a suddenly painful paw rather than assuming the dog needs more training.
Break preparation into short, separate practices, rewarding comfortable participation:
- Let the dog approach the nonslip mat and investigate the inactive tool.
- Reward a brief touch to the leg, then the paw, and finally one toe, releasing before the dog pulls away.
- Introduce the sound separately: close the clippers on dry pasta or switch a grinder on several feet away, then gradually reduce the distance only while the dog remains comfortable.
- Touch the inactive tool to a nail. When that is accepted calmly, try one tiny trim, reward immediately and end the session if the dog has had enough.
A relaxed response is the criterion for progressing—not the number of repetitions or the time spent practicing. If the dog withdraws, go back to a simpler stage at the next practice. Persistent panic, attempted biting or repeated inability to handle a paw warrants veterinary advice and, where suitable, qualified reward-based handling support. Do not use force or give sedatives without veterinary direction.
What if you cut the quick and the nail bleeds?
Stop clipping immediately. Hold clean gauze with gentle, steady pressure against the end of the nail. Apply pet styptic powder according to its instructions, then let the clot form rather than repeatedly wiping the tip. Keep the dog calm and do not resume trimming other nails that session.
Contact a veterinarian promptly if bleeding is heavy, continues after several minutes of appropriate first aid or repeatedly starts again. A partly detached claw, significant pain, swelling, limping or a nail embedded in the paw pad also needs veterinary care. Do not pull a damaged claw free or attempt to cut deeply around an embedded tip at home.
Nail-trimming decisions at a glance
| What you find | Best next action |
|---|
| Nails are worn flat, do not snag and the dog walks comfortably | Leave them alone today; check individual claws again as they grow. |
| A healthy pale nail has a clear free tip and the dog accepts handling | Make a small, controlled trim with a visible margin before the quick. |
| A dark nail has an obvious projecting tip, but the quick is hidden | Remove only a tiny sliver and inspect; finish when another safe cut is uncertain. |
| The dog repeatedly pulls away or is frightened by the tool | Stop cutting and practice the handling sequence on a different occasion. |
| A claw is split, embedded, unusually painful or bleeding persistently | Arrange veterinary care rather than treating it as routine maintenance. |
For ongoing care, note which individual claws actually outgrow their naturally worn ends. The goal is comfortable paws and a dog that can take part in nail care calmly—not a particular date or identical nail length on all four feet.